How to Fix Cracked Marble in 6 Steps: A Practical Repair Guide
Posted on by The Quarry
Natural marble is valued for its unique veining, and no two slabs look exactly alike. This is why a crack in a marble floor, countertop, or temple surface is a concern, as a replacement slab will rarely match the original perfectly. When the damage is minor and the slab is stable, repairing it is often the better first option.
You can fix cracked marble yourself when the damage is a hairline or surface crack. Clean and dry the crack, fill it with clear or colour-matched stone epoxy, allow it to cure fully, then sand, polish and seal the area. Deep, widening, or uneven cracks may be structural and call for a professional inspection before any repair.
This guide explains how to identify each type of crack, complete the six repair steps, and decide when replacement is the wiser choice, particularly for imported Italian marble.

Why Marble Cracks: Common Causes You Should Know Before You Fix Cracked Marble
Before you jump into how to fix broken marble, pause for a second and look closely at the crack. Its shape, depth and location can tell you a lot about what caused it.
Marble can break due to heat, pressure, moisture or the state of the surface beneath. In the Indian climates marble is perpetually adjusting itself to change in temperature. It gets bigger, it gets hotter, it gets smaller and it cools off. That constant movement can develop tension in the stone over time and a crack might appear rather unexpectedly.
- Heavy impact: A dropped object, a sharp edge or even the slow, constant weight of furniture can create pressure on marble. Sometimes the crack appears immediately and sometimes it develops over months.
- Poor installation: An uneven base, the wrong adhesive or tiny gaps beneath the slab can weaken the marble from below. The surface may look perfect for a while, until daily use begins to reveal the issue.
- Water seepage: Moisture underneath marble can slowly weaken the bond and soften the support. What looks perfect on top may already be compromised below, especially in kitchens, bathrooms, balconies or areas cleaned frequently with water. Kitchen countertops face this exposure regularly, so it is worth comparing marble vs quartz vs granite before choosing a surface.
Here’s the part most people miss:
- Surface-level cracks are usually cosmetic and easier to fix.
- Hairline cracks can often be handled with clear epoxy or marble filler.
- Deep cracks may need professional inspection.
- Cracks that widen or feel uneven can point to a structural issue.
Knowing the difference changes everything, especially when you’re deciding how to fill cracks in marble.
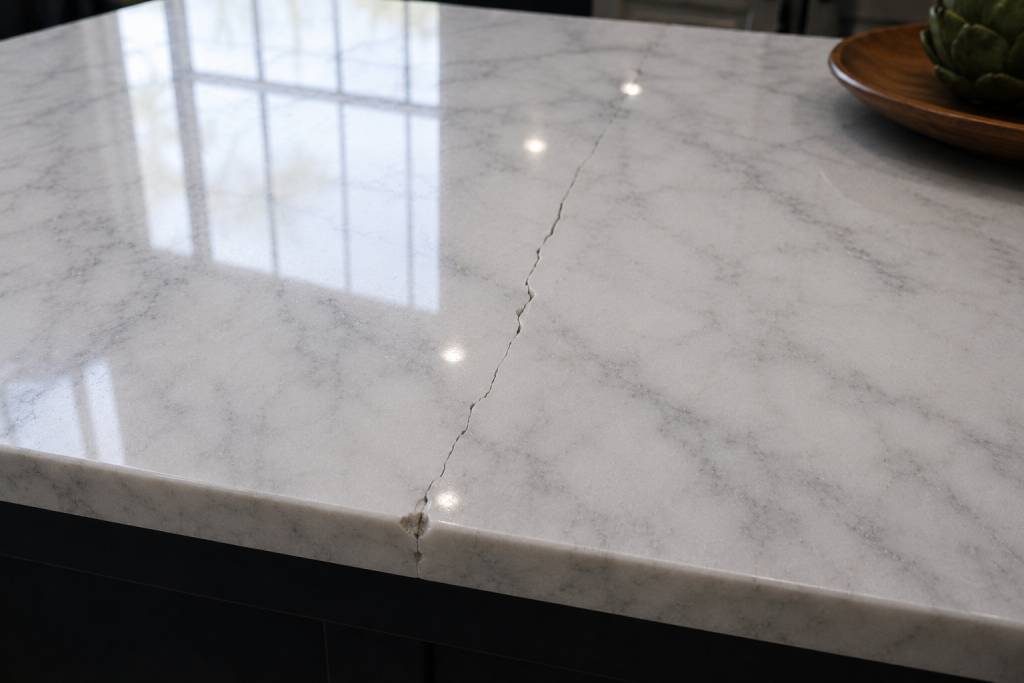
Types of Marble Cracks (Hairline, Structural, Edge & Chip Damage)
Before you choose a repair method, identify the type of crack first. Hairline cracks, deep cracks, edge cracks and chips each need a slightly different approach. This helps you decide whether the marble can be repaired at home or needs professional attention.
Hairline Cracks in Marble
Hairline cracks are fine, surface-level lines that are often visible only when light hits the marble at a certain angle. You may notice them on countertops, temple flooring or polished floors that otherwise look clean and intact.
These cracks usually sit on the surface, which is why they are among the easiest to fix. They are often manageable at home, especially when the marble is still stable and the crack has not started spreading.
These cracks are usually ones you can handle yourself. All you need to remember is use clear epoxy for white marble.
Structural or Deep Cracks
Structural or deep cracks are more serious because they go further into the slab. You may be able to feel them under your hand, or notice that the crack is widening, shifting or running across a larger section of marble.
If you’re figuring out how to fix broken marble here, pause before treating it like a simple DIY repair. In some cases, professional repair or replacement is the smarter call, especially if the surface feels uneven or unstable.
Notice how the crack runs across the slab, or feels uneven under your hand. That’s your cue.
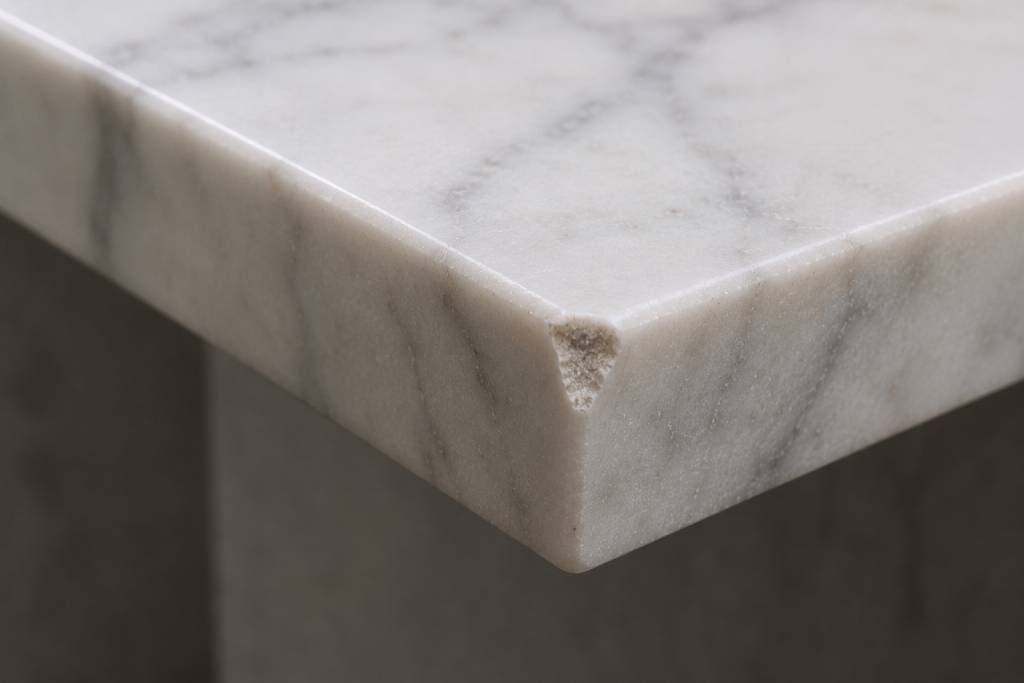
Edge Cracks & Chips
Edge cracks and chips happen where marble is most exposed, such as corners, borders and edges that take daily contact first. A small chip or softened edge may not look dramatic, but it can still affect the finish of the stone.
The good part is that these are often repairable when the damage is minor. If you’re wondering how to fix broken marble edge without replacing slab, fillers and polishing can bring it back smoothly and make the repair blend into the surrounding surface.
No crack is the same. Which means no response should be either.
Bookmatched marble, where the veining mirrors across two slabs, needs extra care, because even a neat repair can interrupt the pattern. A professional assessment is advisable before you attempt any repair.
Tools & Materials Needed to Fix Cracked Marble
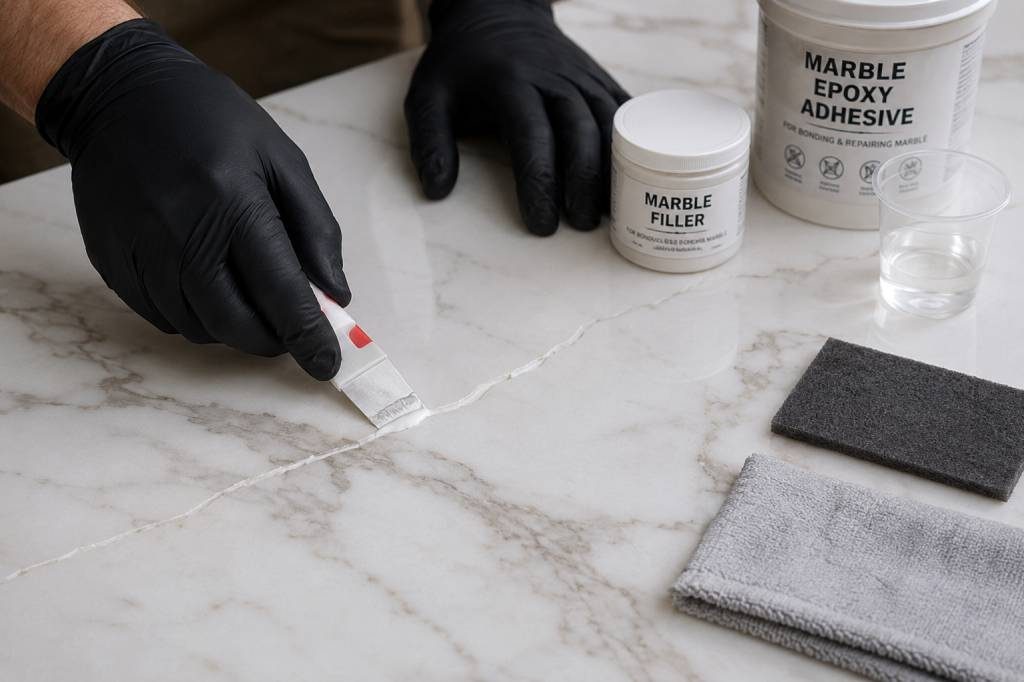
Before you begin how to repair marble crack at home, set yourself up properly. The difference between a visible fix and a neat one often starts with the materials you choose.
- Epoxy resin: Use clear epoxy if you want the repair to disappear on light marble, or colour-matched epoxy if the marble has stronger tones or veining.
- Marble filler or stone putty: This restores what was lost and helps fill chips, gaps or slightly wider cracks.
- Putty knife or applicator: This gives you control while pressing filler into the crack and levelling the surface.
- Fine grit sandpaper: A 400 to 800 grit range helps smooth the cured filler without being too harsh on the marble.
- Polishing compound: This brings back the shine and helps the repaired section blend with the rest of the surface.
- Soft cloth: Use this for wiping, polishing and handling the marble gently.
- Acetone or mild cleaner: A clean surface decides how well the filler bonds.
- Marble sealant: Protection is the final step, not an afterthought.
- Safety gloves and mask: Good repair work should also be careful repair work.
And while you’re searching for the best epoxy to fix cracked marble slab, don’t compromise here.
Step-by-Step Process to Fix Cracked Marble at Home
Here’s a simple, effective method for how to fix cracked marble floor at home or any other marble surface. Stay patient, follow each step carefully and give the repair enough time to cure.
Step 1: Clean and Prepare the Cracked Marble Surface Properly
Always start with a clean surface. Use acetone or a mild stone cleaner to remove dust, grease and every trace of moisture from the cracked area. What you don’t see can still affect what comes next.
Let the surface sit for 20 to 30 minutes so it dries completely. Moisture trapped inside the crack can weaken the bond, so avoid applying filler on a damp surface. It may not fail immediately, but it can fail over time.
Step 2: Widen Slightly (If Needed) to Ensure Strong Filler Bonding
Not every crack needs this step. It is only required for slightly deeper cracks where the filler needs a little more space to settle properly.
Take a thin blade and gently open the crack just enough for the epoxy to go in, rather than sit only on top. Go slow, because this is precision work, not force. Do not over expand the crack. If the crack is fine, skip this step and respect the scale of the problem.
Step 3: Apply Epoxy or Marble Crack Filler Evenly
This is the moment that decides how neat the repair will look. Apply the epoxy slowly with a putty knife, guiding it into the crack and allowing it to settle evenly.
If you are working with white marble, use clear epoxy so the repair blends better. Watch for air bubbles because they can make the repaired area visible later. Level the surface carefully with a light hand, then allow the filler to dry for 6 to 24 hours, depending on the product.
Remember, overfilling or rushing the application will compromise your output.
Step 4: Allow Proper Drying and Curing Time Before Sanding
Just because the surface looks dry, it does not mean the filler has fully cured. Give it at least 12 to 24 hours and allow more time in humid weather if the product needs it.
This is where most people get impatient and undo their own work. Sanding too early can weaken the repair permanently.
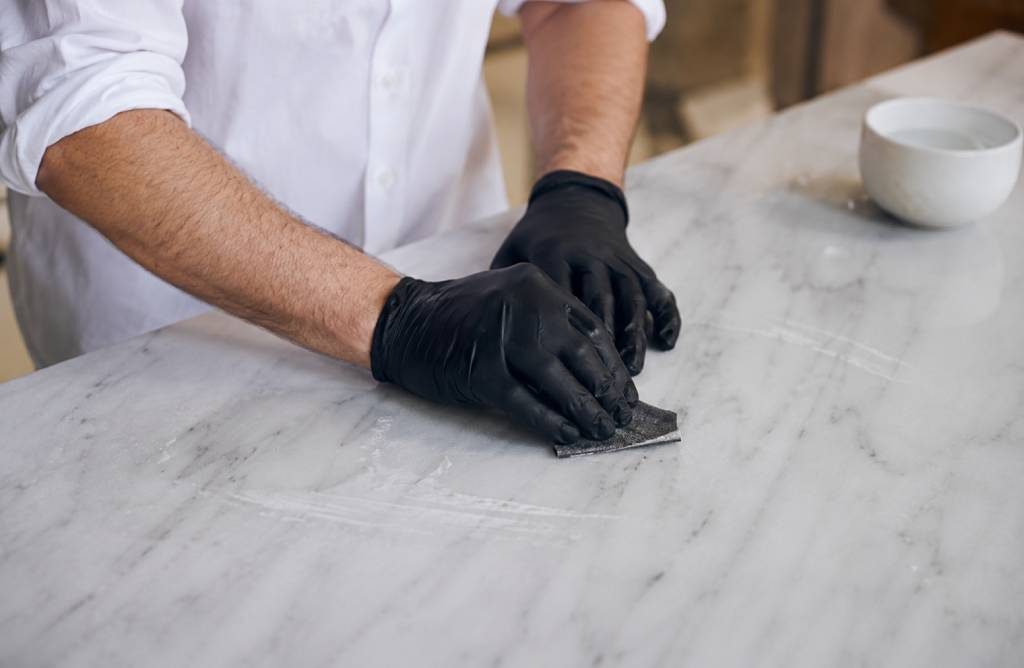
Step 5: Sand and Polish to Restore Smooth Finish
Now you refine the surface. Use fine grit sandpaper, starting with 400 grit and moving towards 800 grit for a smoother finish.
Take your time and feel the surface as you work. A little water can help soften the sanding process and give you a cleaner finish. Then polish slowly until the shine returns and the repaired area begins to blend into the marble.
In modern interiors featuring Minimalist Marble Design, even small surface imperfections can become noticeable. A properly repaired and polished marble surface helps maintain the clean lines and sophisticated aesthetic that minimalist spaces are known for. Consistent maintenance ensures the design remains elegant and visually seamless.
Step 6: Seal the Area to Prevent Future Marble Cracks
Always seal the repaired area once sanding and polishing are complete. A marble sealant protects against stains, moisture and future wear.
Reapply the sealant every 6 to 12 months, depending on usage. Maintenance is part of the material. If you’re wondering how to seal marble after crack repair, this is what ensures it lasts, not just today, but over time.
Repair vs Replace: When Should You Replace Cracked Marble?
Sometimes, fixing it isn’t the answer. And that’s okay. Look at the crack, run your hand over it and check whether the surface still feels stable. If you are unsure whether the stone itself is sound, it also helps to know how to check marble quality.
| What you notice | What it usually means | What to do |
| A light crack visible only in certain light | Usually surface-level or cosmetic | Repair with epoxy or marble filler |
| A small chip on an exposed edge | Minor edge damage | Fill, sand and polish |
| A crack that feels uneven under your hand | Possible deeper damage | Get it inspected before repairing |
| A crack that seems to be growing | Movement or pressure may still be active | Call a professional |
| A crack running across a large slab | The slab may be structurally affected | Consider professional repair or replacement |
| Loose, hollow or unstable marble | The issue may be below the surface | Replacement may be the safer choice |
If you’re wondering how to repair marble crack in countertop surface, it’s worth getting a professional to take a look when the crack is deep, spreading or close to a sink, hob or heavy-use area. A second opinion now is always cheaper than a bigger problem later, and if the countertop does need replacing, a granite colour chart can help you compare granite shades as an alternative.
How to Prevent Marble Cracks After You Fix Cracked Marble
Once you’ve learned how to fix cracked marble, you realise something. Fixing it is one part. Keeping it that way is the real job.
Start small. Seal regularly. It keeps moisture out, which is what quietly weakens marble over time.
Then think about how things sit on it. Distribute weight evenly. Marble holds up better when pressure is not concentrated in one spot.
This principle is particularly relevant for heavy-use surfaces such as Marble Office Tables.
Cleaning matters more than you think. Use mild cleaners. Strong chemicals might feel effective, but they slowly take away the finish.
If there’s a leak, don’t wait. Fix leaks immediately. Water travels and once it gets underneath, the damage builds quietly.
And then there’s the base of it all. Install properly. This is where most problems actually begin, whether the marble is a floor, a countertop or part of marble wardrobe design.
Follow these steps consistently. Doing this only once will not help much in the prevention of marble cracks, but regular care will keep your repair intact and your marble looking like nothing ever happened.
FAQ
In most cases, yes. Smaller cracks and chips are usually fixable with fillers and polishing. You only really need to replace it if the damage is deep or structural.
Yes, you can. A good epoxy adhesive works really well for this. As long as the pieces are aligned properly, it bonds strong and holds up over time.
Only if it’s done badly. If you use clear epoxy and apply it carefully, it’s barely noticeable. Most of the time, you won’t see it unless you’re looking for it.
It’s actually pretty straightforward. Clean the crack properly. Fill it with clear epoxy. Let it dry fully. Then sand and polish it back to a smooth finish. That’s the usual way people handle how to repair marble crack in countertops.
You don’t really “hide” it. You blend it in. Use a colour matched epoxy or filler. Then polish the surface so it matches the rest. If it’s done well, it just disappears into the pattern.
A stone grade epoxy resin is your best bet. It’s strong, lasts long and if applied properly, it blends in nicely with the marble.
It can, yes. Especially if water gets in or there’s constant pressure on that spot. What looks small now can spread later. Better to fix it early.